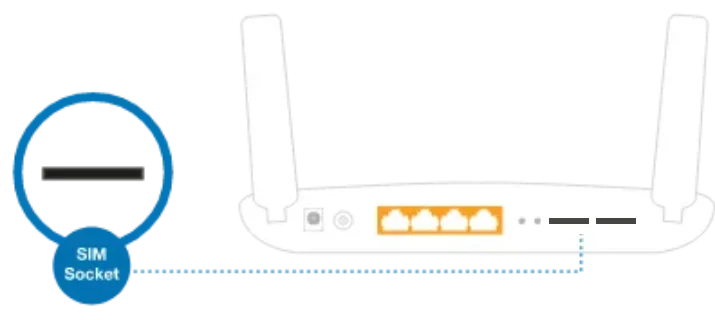
Carefully remove the SIM card from its packaging & insert it into the SIM socket, located at the back of the router.
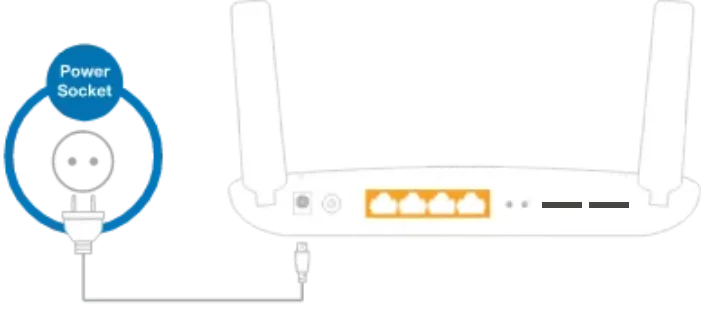
Plug the power cable into the router and then into a power socket. The router will turn on automatically and search for available networks.
Please note that your service will not be able to activate if your router is not powered on. Remember this could take up to 24-48 hours for RICA to be accepted by MTN, so don’t stress if it takes a while. Please make sure your router is plugged in and switched on so when the RICA is accepted, your service can automatically activate.
Step 2: Connect your device to the router via cable or WiFi
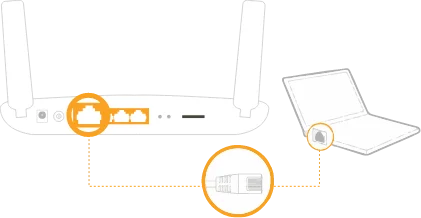
Via Cable
Simply connect your PC to any of the orange ports on the router with a LAN cable.
Via WiFi
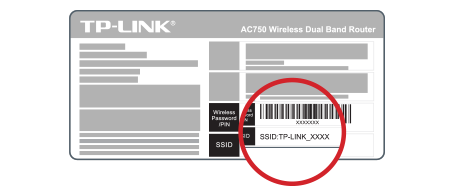
If you’d prefer to use WiFi, you need to check under your router for the WiFi network name, which may be called an SSID and the Password or security key. These are the default login details for the network.
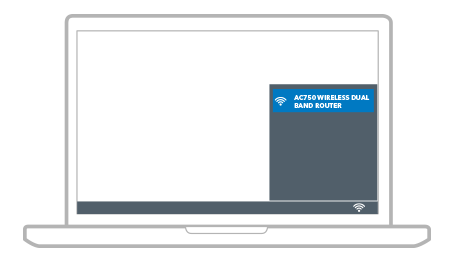
On your device, find the network that matches the SSID on the bottom of your router and connect to it using the password.
Step 3: Personalise your WiFi settings
Now that you’ve connected your device to your router you’ll want to change the network name and password to make connecting devices easier.
Log into your router
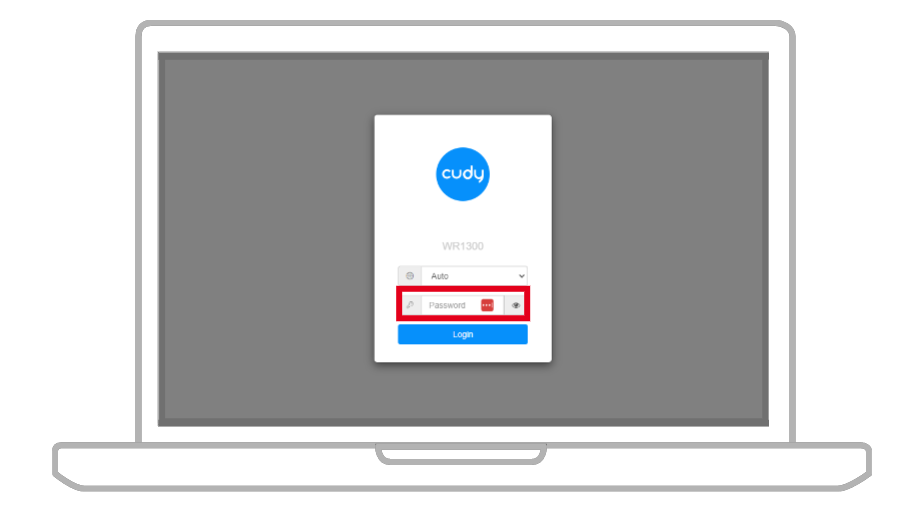
Open your internet browser and type 192.168.10.1 in the address bar and press enter. This will take you to a Cudy page. Sign into the Cudy page by creating a username and password.
Step 3: Personalise your WiFi settings
Now that you’ve connected your device to your router you’ll want to change the network name and password to make connecting devices easier.
Log into your router
Open your internet browser and type 192.168.10.1 in the address bar and press enter. This will take you to a Cudy page. Sign into the Cudy page by creating a username and password.
Change your WiFi network name
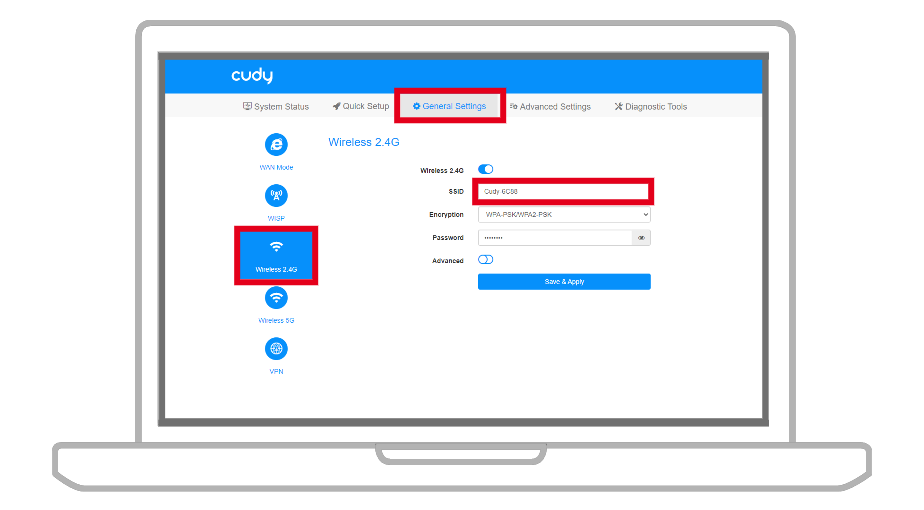
Click on General Settings from the menu at the top of the page. Select the network name you want to modify. Change the SSID to your chosen network name
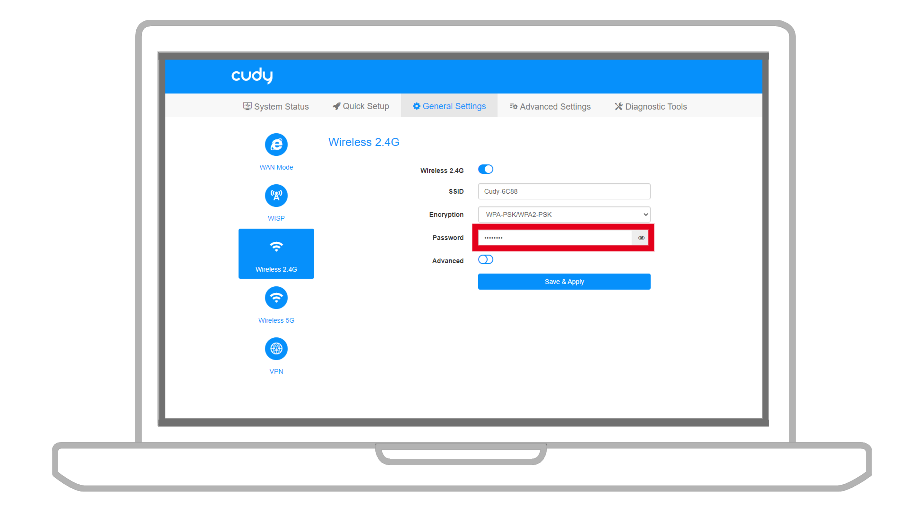
Change your WiFi password
Leave the encryption on the default, proceed to enter a password and click Save and Apply.
Follow the same steps on the *Wireless 2.4GHz* menu option as not all devices can connect to 5GHz WiFi.
Please note this routers warranty is for one year from receipt. The warranty covers only manufacturing flaws and not damage due to external factors (such as acts of god or loadshedding). If you feel your router is faulty, the RMA process is as follows:
1. Open a ticket here and an agent will be in touch with you shortly.
2. Support will troubleshoot the router to decide if it is faulty and send a ticket to our logistics team.
3. If the router is found faulty our logistics team will contact you for the collection of your old device, and replacement of your new device.